Trong bài viết này, chúng tôi sẽ đưa ra những cách quản lý thông tin liên hệ. Cập nhật thông tin liên hệ của quý đối tác là điều rất quan trọng để khách hàng và Agoda có thể dễ dàng liên lạc với quý đối tác.
Cách quản lý thông tin liên hệ
Mục này giải thích cách tạo, hiệu chỉnh và xóa bỏ một đầu mối liên hệ. Xin lưu ý rằng chi tiết liên hệ phải được nhập bằng tiếng Anh.
Creating a new contact
- Click on + Create New Contact
- Fill in the General Information and Contact Detail fields
- If there is more than one email or phone number, please click Add email address or Add phone number
- We recommended listing phone numbers in international format, without any spaces. For example, Thailand’s country code is +66 and Bangkok’s area code is 02, so a Bangkok phone number would be input as: 662xxxxxxx
- Click Create
Editing a contact
If you want to edit a contact’s details, click Edit. Then, click Save. If you need to discard the changes, click Cancel.
Deleting a contact
You can delete a contact by clicking Delete. Confirm deletion by clicking on Yes.
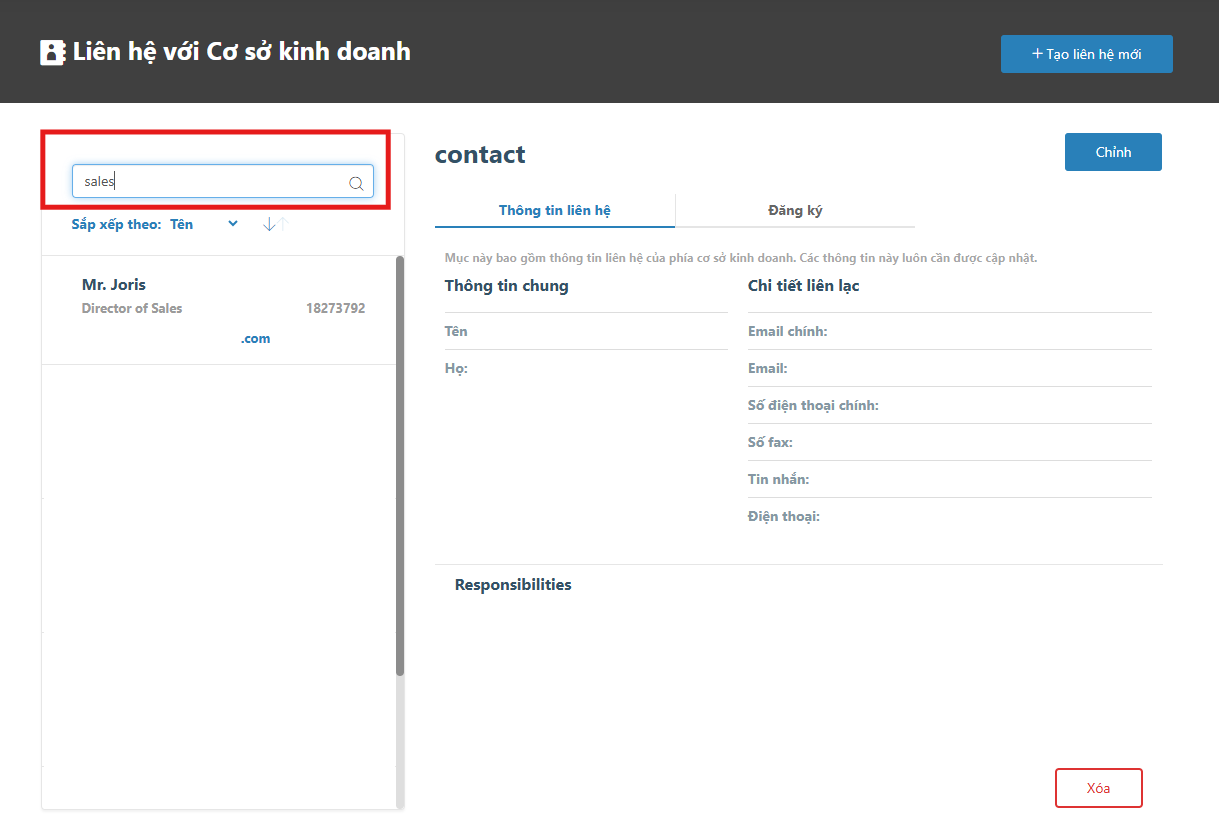
Searching your contact list
You can search your contact list by name, email, or job role using the search box on the top-left of the screen as shown below.

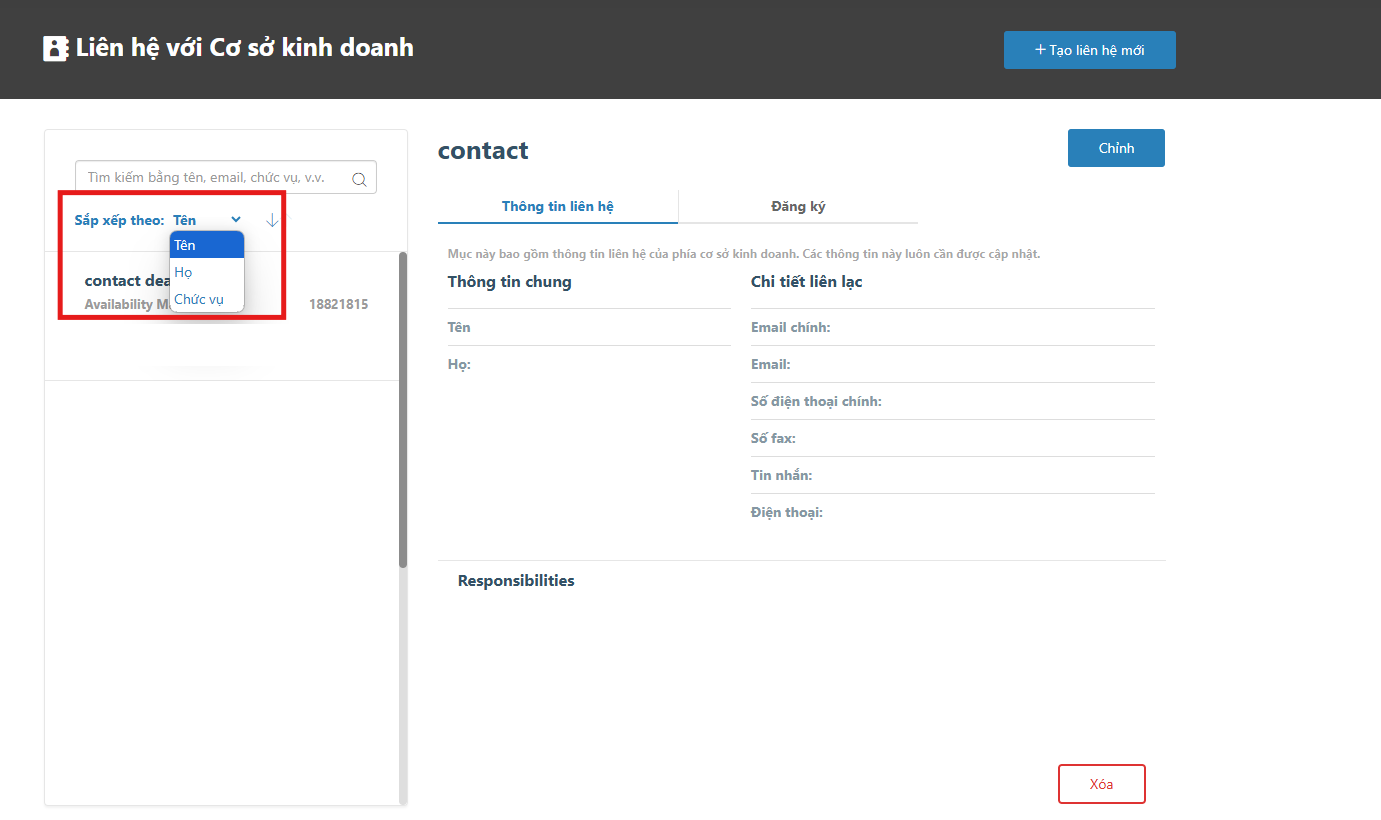
Sorting your contact list
You can sort the contact list by Name, Surname, or Job Role using the sort function under the search box as in the image below. Click the small arrow next to the sorting option to toggle between ascending and descending.

Responsibilities and subscriptions
The list of responsibilities displayed in the Responsibilities section represents the topics the contact is responsible for (e.g. Reservation, General Questions, or Authorized Signatory). The selected responsibilities determine the initial selection of subscriptions in the Subscriptions tab.

Managing subscriptions
You can subscribe contacts to any items that are available in the Subscriptions section. Once subscribed, notifications will be sent via email. For example, you can subscribe certain contacts to receive booking confirmations.
To subscribe, follow the steps below:
- Search and select the contact’s email address using the search box
- Click on Subscriptions
- Tick the subscription boxes based on your preferences
To unsubscribe, follow steps 1 and 2 above, then untick the subscription boxes based on your preferences.

Field details
The Contacts page has the fields as described in the below table:
| Section | Field | Description |
| Contact Info tab | ||
| General Information | Job Role | This is the contact’s job role. The user can select the job role from the predefined list using the drop-down box. |
| Prefix | This is the contact’s name prefix. The user can select the prefix from the predefined list using the drop-down box. | |
| Name | This field is for the contact’s name. | |
| Surname | This field is for the contact’s surname. | |
| Contact Detail | Primary Email | This field is for the contact’s main email. |
| This field is for the contact’s additional email. | ||
| Primary Phone | This field is for the contact’s primary phone number. | |
| Fax | This field is for the contact’s fax number. | |
| Phone | This field is for the contact’s additional phone number or mobile number. | |
| Responsibilities | Responsibilities | This field shows the list of the contact’s responsibilities. |
| Subscriptions tab | ||
| Notification | Notification Type | This field shows the type of notifications that the user can select from. |
| Subscription Type | This field allows the user to subscribe to specific notifications. | |
Contact us
Still looking for a solution? Contact us via the YCS Need Help Button or other methods.
Learn more
Bài viết này có ích không?
%
%
Cảm ơn về lời đóng góp ý kiến của quý đối tác!


